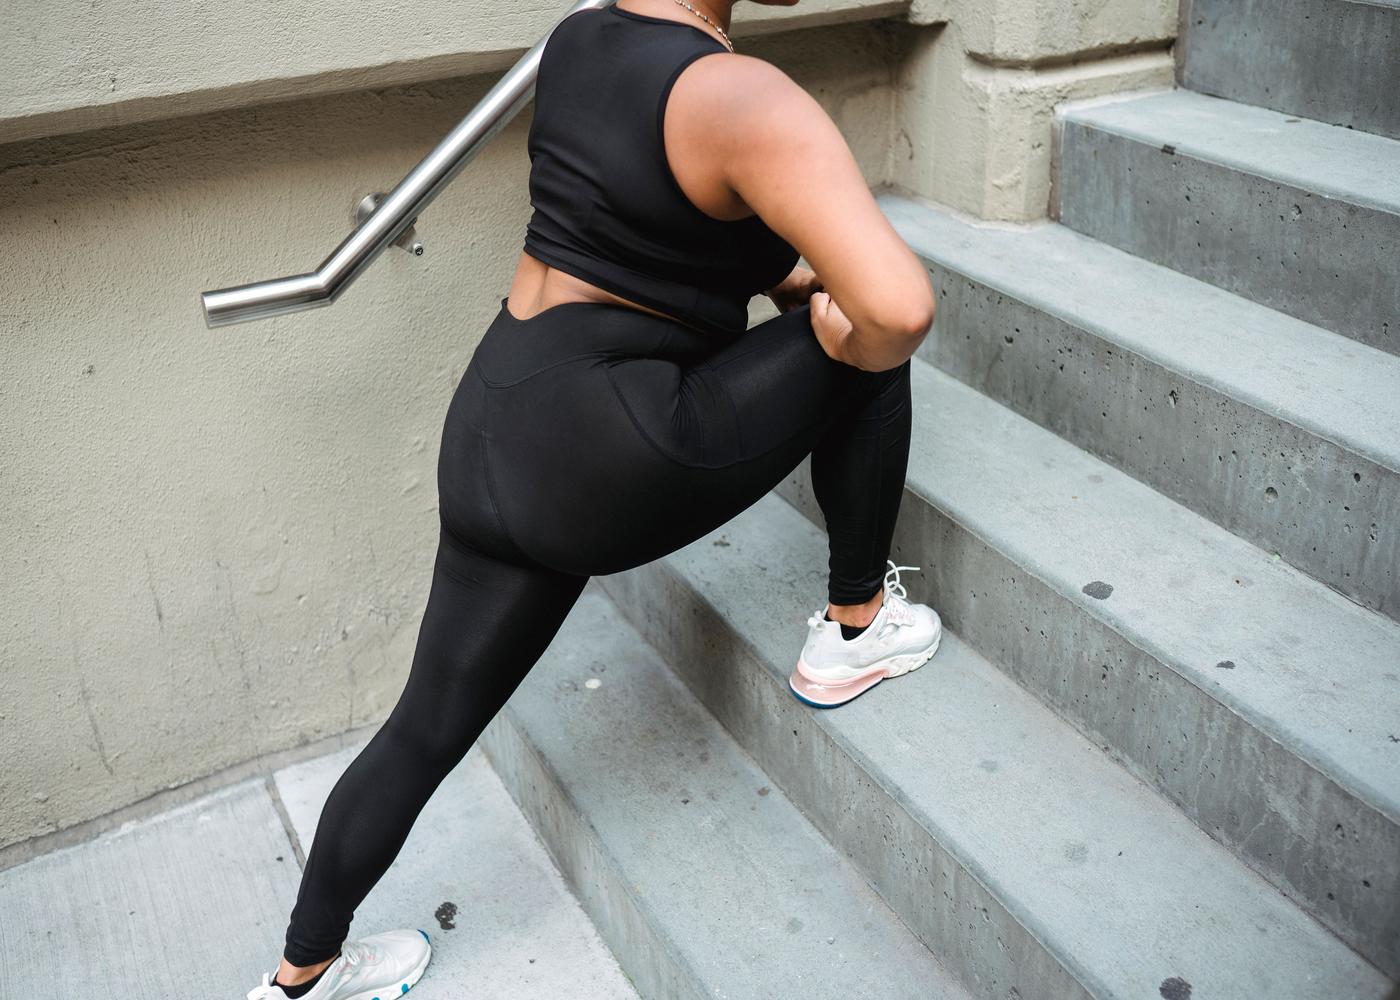
Your First Push-Up: A 6-Week Progression Plan for Women
Fitness

Key Findings
Getting your first push-up starts with finding a version you can already do, then making it gradually harder. This six-week push-up progression plan uses wall and incline push-ups, two main workouts each week and optional lighter practice to build toward the floor. You will learn proper technique, follow a weekly training schedule and know when to progress. Six weeks is a starting framework: better control, more repetitions and a lower incline all count as progress, even if your first full push-up takes longer.

You place your hands on the floor, stretch your legs behind you and lower yourself down. So far, so good. Then you try to push back up, and nothing much happens.
If that sounds familiar, you have a useful starting point. A floor push-up is simply more demanding than your current pressing strength can comfortably manage. There are easier versions that let you practice the same basic movement and build from there.
This push-up progression for women gives you six weeks of focused practice, with two main sessions a week and an optional lighter workout. You can do it at home and fit it alongside other strength training exercises for women.
The first win might be five controlled repetitions against a countertop. A few weeks later, you might use a lower surface. Those steps matter. Each one gives you something concrete to build on, without turning every workout into another frustrating attempt at the floor.
Before You Start: Find Your Push-Up Starting Point

Your starting point should feel manageable enough that you can concentrate on the movement. Take a few minutes to find it. Choosing an easier variation now gives you more opportunities to practice well.
What Counts as a Full Push-Up?
For this plan, a full push-up starts on your hands and toes, lowers your chest close to the floor through a comfortable range and finishes with your arms straight again. Your chest and hips travel together throughout the movement.
Here is how to do a proper push-up:
Place your hands around shoulder width. Adjust slightly until the position feels comfortable.
Make a straight body line. Extend your legs, gently tighten your abdomen and keep your head aligned with your torso.
Lower smoothly. Bend your elbows at a comfortable angle without letting your hips sag.
Press through your hands. Bring your chest and hips up together until your arms straighten.
Keep breathing. Try breathing in as you lower and out as you press.
Use ACE’s push-up demonstration as a technique reference. Recording a few repetitions from the side can also reveal something that is difficult to feel, such as your hips lifting before your shoulders.
Choose a Variation You Can Repeat
Start with your hands elevated. As ACE’s incline push-up guidance explains, a higher support makes the movement easier, while lowering the support increases the challenge.
If This Sounds Like You | Start Here | Your First Check |
You have little pressing experience | Wall push-ups | Five comfortable, controlled repetitions |
Wall push-ups already feel easy | A high incline on a fixed countertop | Chest and hips moving together |
Countertop push-ups feel manageable | A lower incline on a secure exercise bench | Five repetitions without straining or losing position |
Choose a variation where you can complete five repetitions and feel that roughly two more would be possible. Rest between trials; you do not need to test every height today.
For wall push-ups, place your hands around shoulder height and step back only as far as you can maintain control. Move closer to make the exercise easier.
If the wall is your starting point, use it confidently. It gives you a place to learn the movement and a clear way to notice improvement.
Set Up a Safe Practice Space
You need a wall or secure elevated surface, clear nonslip floor space and an optional mat. Check that any bench can support your weight without sliding or tipping. Avoid lightweight chairs and stacked household objects.
There is no long shopping list. You can explore other home gym essentials later. For now, a dependable surface you can return to each session is enough.
Stop if you experience sharp pain, dizziness or worsening joint symptoms. If you are recovering from an injury or surgery, get guidance on suitable variations before starting.
Put Two Sessions in Your Week
Choose two main training days, such as Monday and Thursday. Add easy Saturday practice only if you feel recovered. Leave at least one day without push-up training between sessions, and take longer when needed.
ACSM’s resistance-training guidance emphasizes regular participation and programs adapted to the individual. For this first push-up program, that means choosing sessions you can realistically repeat and adjusting the work to your ability.
If you already follow a strength training plan for women over 40, work these sets into your upper-body sessions. Account for the pressing exercises already in your routine so that enthusiasm does not leave you too sore for the next workout.


Your Complete 6-Week Push-Up Progression Plan
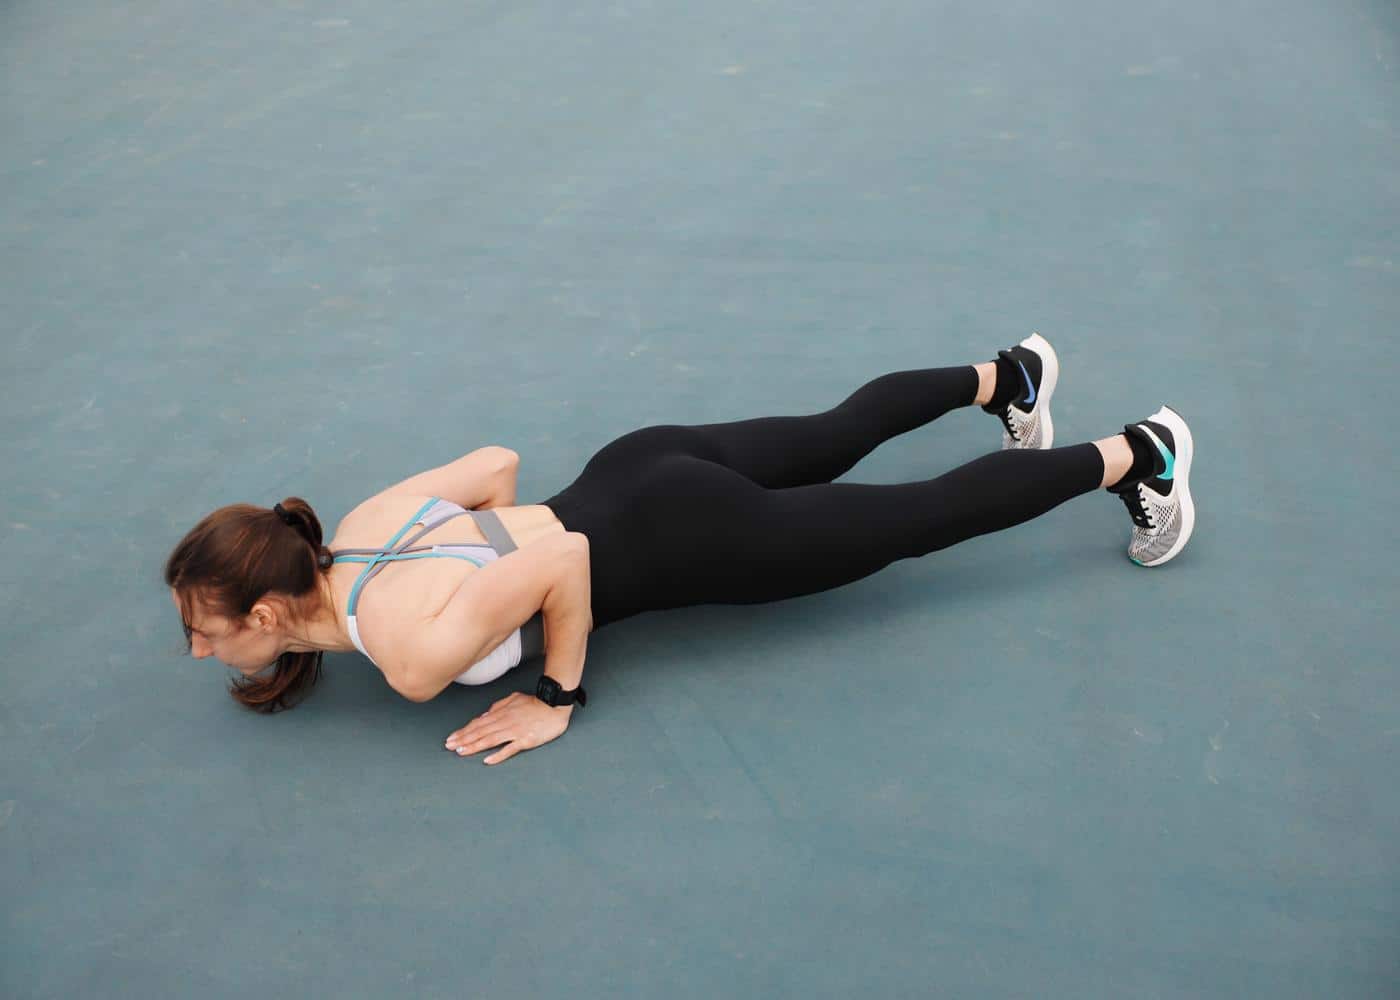
Think of the weeks as stages you can revisit. Move forward when your strength and control are ready, and repeat a stage when you need more practice. Allow around 10–20 minutes per session, taking longer if you need extra rest.
Push-Up Progression Chart: Six Weeks at a Glance
This push-up progression chart shows the route from finding your starting variation to assessing your first floor repetition.
Week | Main Focus | What You Will Practice |
1 | Get comfortable with the movement | Wall or incline push-ups at a suitable height |
2 | Build repeatable strength | More repetitions and a third set |
3 | Increase the challenge | A slightly lower incline, when ready |
4 | Control the lowering phase | Small amounts of floor lowering, if appropriate |
5 | Prepare for the floor | A first full repetition attempt, when ready |
6 | See how far you have come | A full push-up or a comparison with your starting incline |
A Few Rules That Make the Plan Easier to Follow
Before each session, spend three to five minutes marching and moving your shoulders and wrists comfortably. Then perform five easy wall or high-incline push-ups. Choose a warm-up variation that feels easier than your working sets.
Read 3 × 6 as three sets of six repetitions. Lower for roughly two seconds, then press smoothly. Rest for 90–120 seconds between sets, extending to two or three minutes for challenging floor practice.
Finish most sets feeling that you could perform about two more good repetitions. Stop earlier if your position changes or a joint hurts. Optional workouts should feel noticeably easier than the main sessions.
When should you lower the incline? Complete 3 × 8 controlled repetitions at the same height in two consecutive main sessions, with around two repetitions remaining per set and no joint pain. Then try a slightly lower support.
That is a practical checkpoint for this program, so there is no need to rush toward it. If the new height makes even a few repetitions difficult, return to the previous level.
After each workout, note your support height, repetitions and effort. This simple approach to tracking your workouts helps you see progress that might otherwise go unnoticed.
Week 1: Make the Movement Feel Familiar
This week, give yourself time to learn the setup. Use the variation you selected and concentrate on moving your chest and hips together. You should finish with a better feel for the exercise, without needing to exhaust yourself.
Session | Push-Up Work | Focus |
1 | 2 × 5 at your starting variation | Move chest and hips together |
2 | 2 × 6–8 at the same variation | Add repetitions while maintaining control |
3: Optional | 2 × 5 using an easier variation | Easy technique practice |
Take the full rest between sets. If your first set feels good but the second gets shaky, reduce the repetitions. You will learn more from a shorter controlled set than from rushing to finish a number.
Your weekly checkpoint: Can you repeat five comfortable repetitions? If they remain difficult, raise the incline or move closer to the wall. A temporarily shorter comfortable range is another option; record it so you can compare like with like later.
Week 2: Build Strength Where You Are
It is tempting to move lower as soon as a workout feels easier. Spend this week getting more consistent at your current height. The extra set gives you more practice without changing everything at once.
Session | Push-Up Work | Focus |
1 | 3 × 6–8 at your current variation | Maintain consistent depth |
2 | 3 × 6–8 at the same variation | Work toward eight controlled repetitions per set |
3: Optional | 2 × 5–6 using an easier variation | Comfortable practice |
Start at the lower end of the repetition range. If you also follow a beginner calisthenics workout plan, substitute these sets for its push-up work rather than completing both.
Your weekly checkpoint: Have you met the incline progression rule? If so, you can try a lower support next week. If the third set is still too demanding, retain two sets and repeat this stage. Getting stronger at the same height is useful progress.
Week 3: Make One Small Step Down
If you have met the progression rule, try a slightly lower secure support. Expect it to feel harder, and let your repetition count drop accordingly. If you are not ready, continue Week 2.
Session | Push-Up Work | Focus |
1 | 3 × 4–6 at the lower incline, if ready | Get comfortable with the new position |
2 | 3 × 4–6 at the same incline | Maintain control and range |
3: Optional | 2 × 6 at the previous incline | Easier technique practice |
A countertop-to-bench jump can be larger than it looks. Use an intermediate height only if you have a suitable secure surface available. There is no benefit in improvising an unstable setup to follow the calendar.
Your weekly checkpoint: Are your repetitions controlled at the new height? Four good repetitions at a lower incline can represent progress even if you previously managed eight higher up.
Week 4: Learn to Lower With Control
The floor may begin to feel less intimidating once you practice one part of the movement at a time. This week introduces a small amount of controlled lowering, provided the position feels comfortable. Keep building incline strength alongside it.
How to Perform a Negative Push-Up
A negative push-up is the lowering half of a repetition. Start in a high plank on your hands and toes, lower for approximately three seconds, then put your knees down to reset. Each controlled descent counts as one negative.
First, see whether a floor plank feels comfortable for around 20 seconds. If it does, try one slow lowering. If you drop abruptly, lose your body position or feel discomfort, stay with incline repetitions. Holding a plank is only an initial check; the descent itself also needs to be controlled.
Session | Push-Up Work | Alternative if Not Ready |
1 | 3 × 6–8 at your current incline | Retain fewer repetitions if needed |
2 | 2 × 2 negatives, then 2 × 6 incline repetitions | 3 × 6–8 incline repetitions |
3: Optional | 2 × 5 at an easier incline | Skip if still sore or tired |
Your weekly checkpoint: Can you lower smoothly and recover before the next session? If negatives leave you unusually sore, leave them out for now. Comfortable walking or other gentle recovery-day activities can fit between workouts when they feel good.
Week 5: Give the Floor a Try, If You Are Ready
Keep incline push-ups as your main strength practice. If your plank position and controlled lowering feel comfortable, and you have recovered from the previous workout, this week gives you an opportunity to try the whole movement.
Session | Push-Up Work | Alternative if Not Ready |
1 | 2 × 2–3 negatives, then 2 × 6–8 incline repetitions | 3 × 6–8 incline repetitions |
2 | One floor push-up attempt, then 2 × 6–8 incline repetitions | 3 × 6–8 incline repetitions |
3: Optional | 2 × 5–6 at an easier incline | Skip if recovery is incomplete |
Try the floor repetition after warming up, before your other working sets. Place your hands, find your body line, lower smoothly and press.
If you cannot rise, put your knees down and reset. You have learned where the movement is still difficult. Continue with your incline work instead of spending the session making repeated unsuccessful attempts.
Your weekly checkpoint: Write down one thing that improved. Perhaps the lowering felt steadier, your incline was lower or your last set was less demanding. Keep those gains visible while you work toward the full repetition.
Week 6: See How Far You Have Come
Keep the first session comfortable and leave at least 48 hours before assessing your progress. Take longer if you are still sore. You want to arrive at the assessment feeling ready to move.
Session | Push-Up Work | Focus |
1 | 2 × 5–6 at a comfortable incline | Finish feeling capable of more |
2 | Attempt one full push-up if ready; otherwise reassess your starting incline | Compare with Week 1 |
3: Optional | 2 × 5 at an easy incline | Resume comfortable practice if recovered |
If your first full repetition succeeds comfortably, pause and enjoy it. You can try up to two additional singles, resting two to three minutes between them. Stop when technique begins to change.
If the floor is still out of reach, return to your original support height and repeat five repetitions. Compare their effort and control with Week 1. That comparison can make gradual improvement much easier to recognize.
Your weekly checkpoint: Pick your next achievable goal: a lower incline, more consistent depth or a few comfortable floor singles. When you are ready for a broader routine, you can explore our military calisthenics plan for women, adjusting its workload to your ability.
Getting Stuck on Your First Push Up? Here Is What to Change

Some workouts will feel easier than others. When the same problem keeps returning, change one thing at a time so you can tell whether the adjustment helps.
Your Hips Sag or Lift Before Your Chest
Raise the incline and shorten the set. Focus on your chest and hips starting and finishing together.
If holding that position is difficult, try two comfortable incline plank holds of 10–15 seconds, with your hands on the same secure support. Keep breathing normally. Use these in place of optional push-up practice initially, then see how you recover.
You Can Lower Down but Cannot Press Back Up
This can be frustrating because you feel so close to completing the movement. Keep practicing full repetitions at an incline where both directions are manageable.
Use negatives only in the small amounts prescribed. Repeated failed floor attempts can leave you tired without giving you much practice at pressing successfully.
Knee Push-Ups Feel More Manageable
Knee push-ups are a valid option. Keep a line from your head through your hips to your knees and move your chest and hips together.
This beginner push-up progression mainly uses inclines because support height lets you adjust the challenge while retaining a straight-body position. Choose the version you can perform comfortably and consistently.
Your Wrists or Shoulders Hurt
Stop the painful variation. Check your hand position and support height, then try an easier version only if it feels comfortable. You do not need to finish a set through joint pain to make the workout worthwhile.
Persistent or recurring pain deserves assessment by a qualified healthcare professional.
Six Weeks Have Passed Without a Full Push-Up
Look at your record before judging the result. A lower incline, greater comfortable depth or more repetitions at the same height all show that something has changed.
Repeat the stage that suits your current ability. Review whether missed sessions, other pressing workouts or poor recovery are making practice difficult. If you remain stuck, a qualified trainer can check your setup and help you choose the next step.
Build Your Push-Up Goal Into a Personalized Plan With Neura
A small goal can still be surprisingly easy to lose track of. Work gets busy, you forget which incline you used or your push-up session clashes with another workout. Giving the plan a regular place in your week helps you keep going.
Keep the Details That Make Progress Visible
Write down the support used, repetitions in each set, effort and any discomfort. “Countertop: 8, 8, 7; last set difficult” tells you much more about your next session than “did push-ups.”
Neura’s customizable dashboards help you review relevant health and activity information. Keep specific exercise details in your session notes too, particularly support height and movement quality.
Make the Goal Fit Your Actual Week
Personalized Neura Health Plans can help organize a strength goal around your schedule and preferences. You might place Monday and Thursday push-up sessions around existing leg workouts and walking days.
You can also use Neura’s AI health coach to discuss how practice fits your broader habits. On a busy week, keeping the two main sessions and dropping optional practice may be the most manageable choice. Your technique, comfort and recovery still guide exercise progression.

Final Thoughts: Your First Push-Up Starts With the Right Progression
Start at the height where you can move well. Give yourself time to get stronger there, then make the challenge a little greater.
Your first floor push-up may arrive within six weeks, or you may need longer. Either way, a record of steadier repetitions and lower inclines gives you a reason to keep going.
For your first session, keep the task simple: find a secure surface, practice five controlled repetitions and put your next workout in the calendar. That is enough to begin.
Article FAQ
How Do You Get Your First Push-Up?
Start with a wall or incline variation where you can complete five controlled repetitions. Practice twice weekly, gradually adding repetitions and lowering the support when your current level becomes manageable. Introduce controlled floor lowering and a full attempt when ready. If you are learning how to do a push-up for the first time, choose a setup that lets you practice the whole movement comfortably.
Can You Get Your First Push-Up in a Week?
Possibly, if you already have enough strength and mainly need to improve your setup or confidence. A week is not a reliable expectation for everyone. If you currently need a high incline, give yourself time to build strength there. Daily maximum-effort attempts are unnecessary, and missing a seven-day deadline does not mean you are doing anything wrong.
Why Can’t I Do a Push-Up?
A floor push-up may currently require more pressing strength or body control than you can produce together. Being comfortable with walking, running or exercise classes does not automatically transfer to this movement. Raise your hands onto a secure support and see whether that makes full repetitions manageable. If pain is limiting you, seek an appropriate assessment.
How Many Calories Does a Push-Up Burn?
There is no reliable universal calorie figure for one push-up. Energy expenditure varies with body size, effort, movement speed and exercise duration. The Compendium of Physical Activities classifies calisthenics by activity and intensity rather than assigning a fixed calorie value per repetition. For this goal, tracking your repetitions and incline height is more useful than estimating calorie burn.
Should I Practice Push-Ups Every Day?
You do not need daily practice for this plan. Begin with two main sessions and add the optional lighter session only when recovered. Leave at least one day without push-up training between workouts and account for other pressing exercises. Take extra rest when soreness, fatigue or discomfort would affect your movement.
Are Knee Push-Ups or Incline Push-Ups Better for Beginners?
Both can help you practice pressing. Incline push-ups retain a straight-body position while allowing you to adjust difficulty through support height. Knee push-ups shorten the lever and may be convenient when you lack a suitable elevated surface. Choose a comfortable variation you can control, then progress gradually toward the floor movement.